


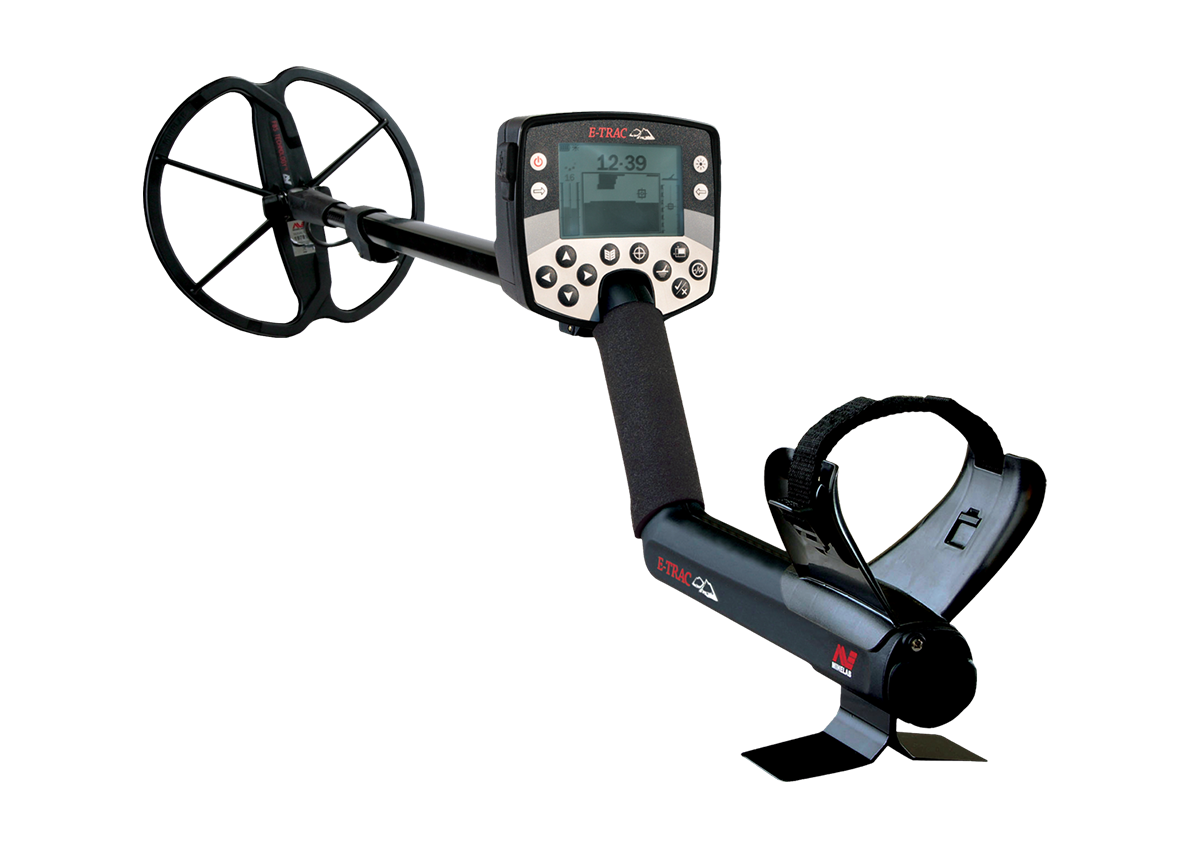
One of the most powerful features of the E-TRAC metal detector is the ability to create a custom discrimination pattern to suit a specific hunting scenario. Once you are familiar with the process, it is really quick and easy to create a pattern from scratch, and you’ll soon have a selection of patterns to use in different locations.
Before starting, gather a selection of coins (or other targets) that you wish to find. This can be modern coins only, older coins, or a selection of jewellery. You may want to create a pattern just for larger high conductive silver and gold coins, or a single specific target – basically the choice is yours.
Firstly, find a clear patch of dirt and place your coil on the ground (or at home on a work bench away from metal and direct sources of electric interference).
NOTE: The following procedure won’t work if your target cursor is jumping around randomly.
-
Turn the detector on, and press the Auto Noise Cancel
 button, and wait for the Noise Cancel procedure to finish.
 - Now switch to Manual Sensitivity by using the left or right navigation buttons, and turn the Sensitivity level down until the target cursor is stable.
-
Press Menu
 and toggle to Discrimination. Scroll down to Edit, and press the right navigation button to enter the Edit screen.
 -
First of all you want to reject all targets, i.e. a fully blackened screen. The boxes on the left of the screen set the Frame Size of your edit cursor, which are selected using the left “shift” button (under the Power button). Simply keep pressing it until the All-Pattern (or full-screen) Frame Size is highlighted – this is at the bottom of the screen. Then press the Accept-Reject
 button, until the whole screen is black. - You are now ready to accept your range of targets.
 - After Step 4, the All-Pattern Frame Size will still be highlighted. Press the left Shift button twice to select the medium Frame Size. I like to try this one for starters, as it offers a good compromise between Accepting the target you want and Rejecting other targets.
-
Now set the Edit mode to Auto Accept
 simply press the right Shift button (below the Backlight) until this is highlighted. You are now ready to accept your targets.
 - Now pass your targets over the coil, at depths you expect to find them, say 10 - 15 cm from the coil. You should see sections of the screen clearing. Pass all the coins over again, to make sure enough of the screen has been cleared.
-
To activate your pattern and start searching, simply press the Detect
 button. You will be prompted: Load Pattern into Smartfind? Press the left of right navigation button to agree to YES.
 - You are now ready to search in your newly created custom pattern.
- If the pattern is working well, you may wish to save it. Press Menu, go to Discrimination – Save, highlight My pattern 1, and press the right navigation button. Your pattern is now saved.
Here is a short video showing just how easy this is to do! I used an Australian $1 coin in the video, but you can use whatever targets you wish.
The second video is a longer video which talks you through the steps as above.
Happy E-TRAC’ing!
Nenad Lonic
Comments